How to change the blades on a replaceable tip router bit |
||||
 |
||||
|
With replaceable tip bits, replacement blades can be fitted directly onto the cutter body without removing the cutter from the router, thus reducing tool downtime. |
||||
Before you begin |
||||
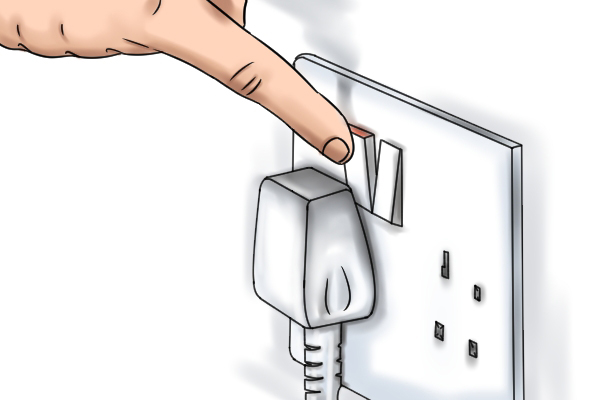 |
You don't need to remove the cutter from the router, but you should ensure the machine is switched off and is not connected to a power source.
Ensure the body or slot of the cutter is free of debris and/or burrs, as this may cause fracture of the blade. |
|||
Installing bladesBlades either slot into recesses in the tool body or are simply placed over the flat edges. |
||||
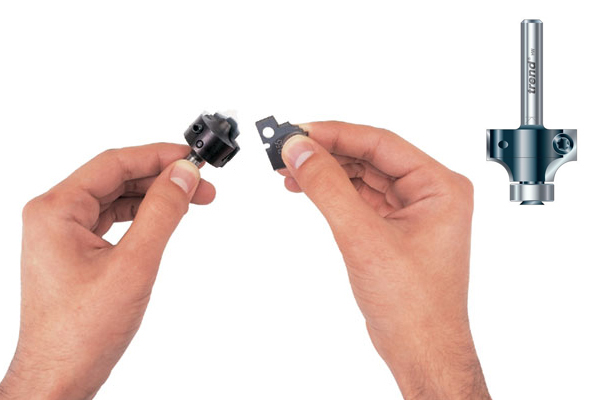 |
Step 1 - Position bladePlace the blade onto the cutter body with the flat side down and the side with the bevelled edge exposed, or simply slot it into the recess. Whichever method, you should ensure that the holes in the blade align with the holes on the cutter body, and that you are always turning the blade fixing screws from the bevelled side of the blade. |
|||
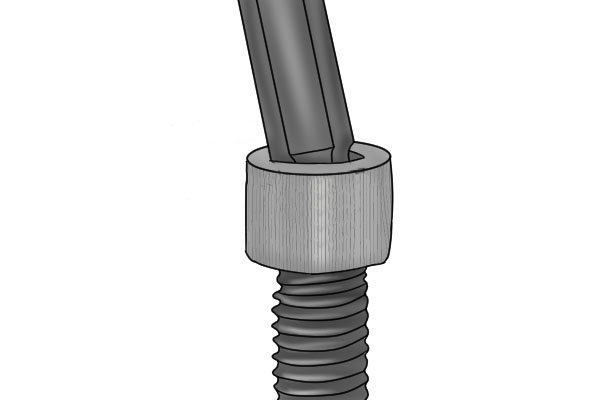 |
Step 2 - Tighten screwsInsert the blade fixing screws and tighten with the appropriate turning tool. Do not over tighten the fixing screws.
Typically, a screw is turned clockwise to tighten and anti-clockwise to loosen (if the router is in overhead mode). |
|||
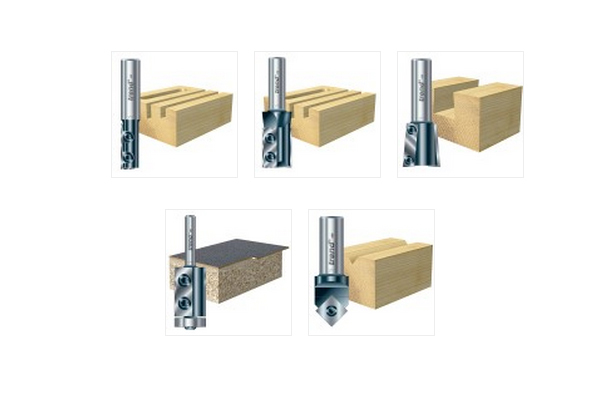 |
Step 3 - Align bladesIf there's more than one blade, ensure they are all aligned with one another before tightening fully. Run several test cuts prior to routing your workpiece to ensure the blades are aligned correctly. |
|||
Removing blades |
||||
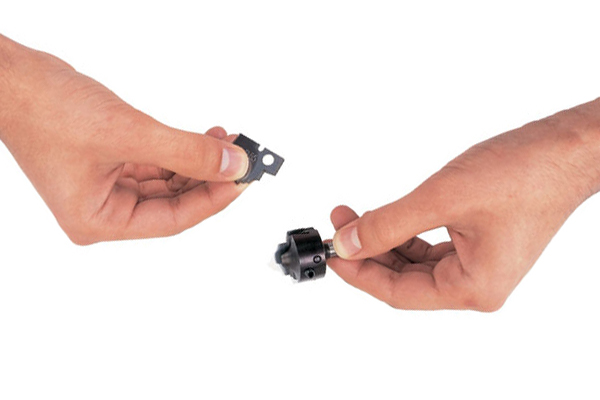 |
To remove a blade, simply loosen the screws until the blade is loose enough to be removed.
Always be careful with handling the blades, even old blades will be sharp. |
|||
 |
||||


