How to cut a circle or arcwith a router and beam trammel |
||||
 |
||||
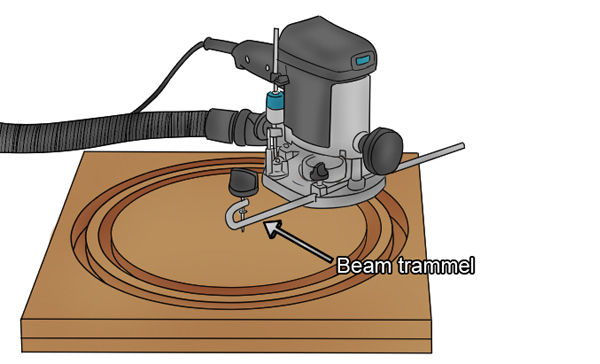 |
Unless you are cutting an arc that begins and ends at the edge of your material, you will need a plunge router, rather than a fixed base model, in order to use a beam trammel. Some routers come with a beam trammel accessory included, otherwise, most routers have a suitable beam trammel available as a separate accessory. |
|||
Before you begin |
||||
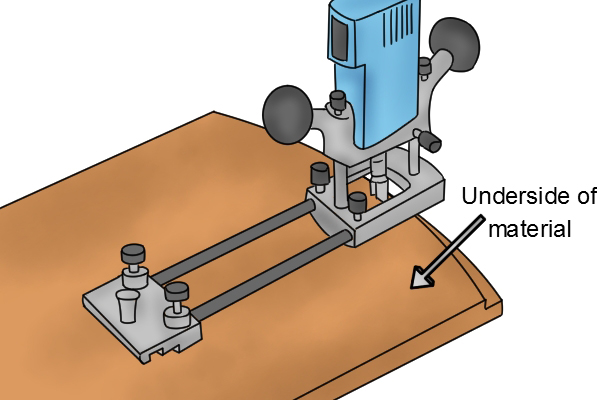 |
Protect your workpieceBeam trammels are secured using a sharp point designed to be screwed into the work surface. If you don't want this point to mark your workpiece, turn it over and mount your router and beam trammel on the underside of the material or position a thin pad of timber where the point will go and fix it down with double sided tape. |
|||
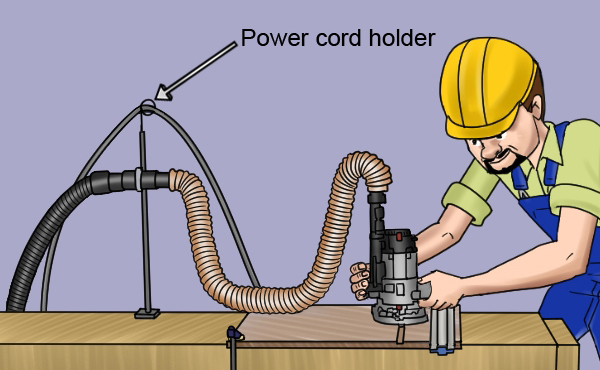 |
Use a power cord holderWhen routing circles, the power cable can become twisted, inhibiting the movement of the router. Make sure you stop work frequently to untwist the cable or perhaps use a power cord holder to keep the wire from twisting while you work. |
|||
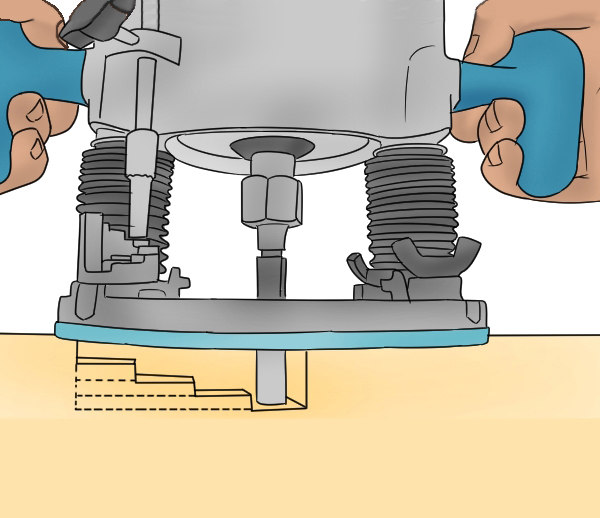 |
Cutting all the way through a materialIf you're routing all the way through a piece of material in order to cut out a circle completely, then you will normally need to do this as a series of shallower cuts of only a few millimetres deep. This will help to protect both your router's motor and the cutting edges of the cutter. Remember, the centrepiece you're cutting out will come loose as the last pass is made through the material. To prevent this piece from contacting the cutter as it becomes free, secure it with double sided tape, and clamp the outer section before you start the operation. |
|||
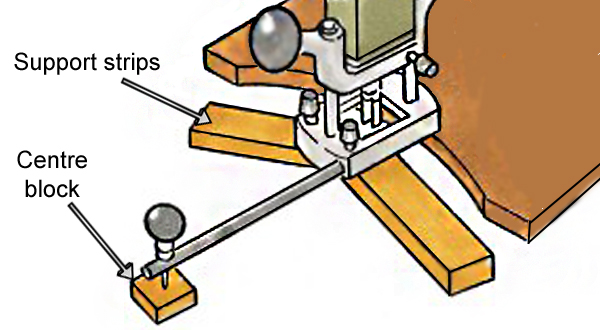 |
Cutting arcs into the edge of a materialWhen cutting arcs into the edge of the workpiece, you can place a centre block to raise the centre point to roughly the same height as the workpiece. Also, position some support strips close to the edge where you can balance the router. |
|||
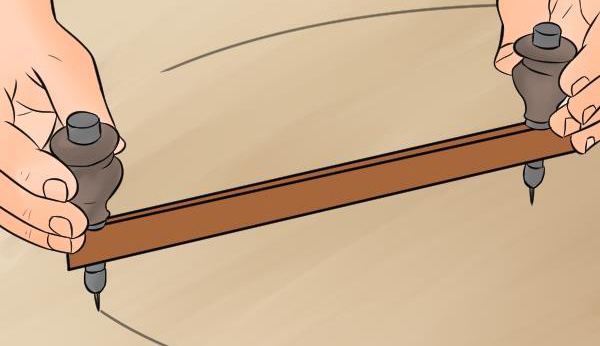 |
Mark workpieceIt's advisable to mark out the circle or arc you want to cut using something like trammel heads or a beam compass, or by tracing around a rounded object. This will help ensure you make the cut in the correct place and can help with positioning the router. |
|||
 |
||||
Fitting the beam trammel |
||||
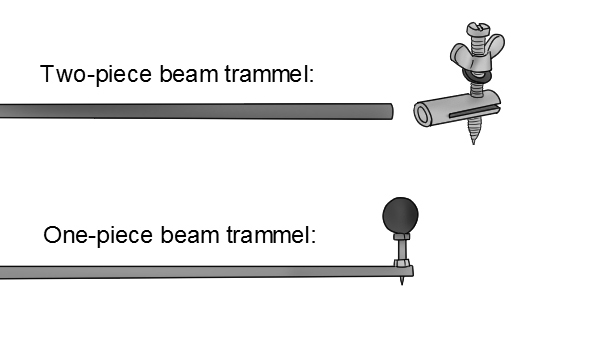 |
The beam trammels you'll find available for routers will usually consist of either a single part or two separate parts. Both consist of a rod and a point. If the point is a separate part it can be fixed to either of the adjustments rods which attach the side fence to the router. Both can be set for creating circles or arcs, with differently sized radiuses, as the router moves along the rod. |
|||
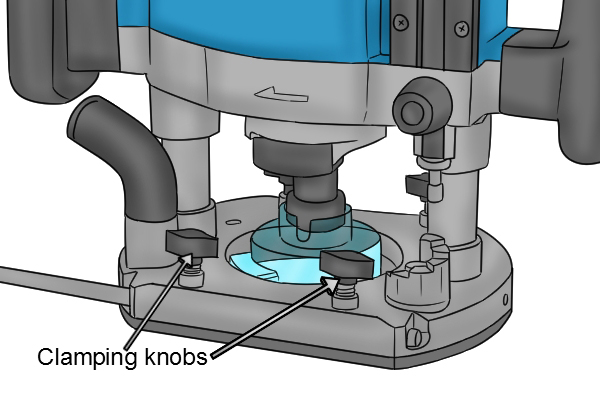 |
A single part beam trammel will simply be fitted to the base of the router and will be fastened in place with thumb knobs. The points height can be adjusted with a screw mechanism which is locked in place with two bolts. The two-part beam trammel's point is adjusted with a screw and it locks onto the rod with a wing nut. This rod is also fixed to the router base with thumb knobs. |
|||
Routing a circle or arc in the surface of a material |
||||
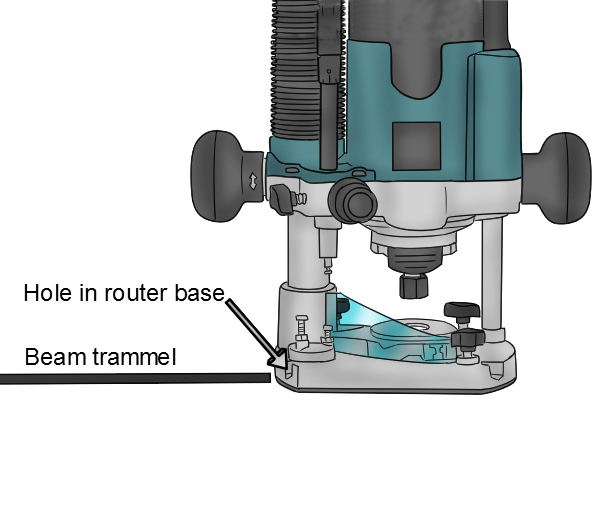 |
Step 1 - Position beam trammel and routerThread the beam trammel rod through the corresponding channel on the router's base, but don't tighten it just yet. Place the router and beam trammel on the workpiece and locate the pivot point in the indent left by the trammel heads. Apply pressure to the pivot point while turning it clockwise to screw it into the material. Recess the point as deep as you can in the workpiece or pad for extra security. Slide the router along the beam trammel's rod until the router bit is aligned with the mark on your workpiece or measure the radius to position the router. |
|||
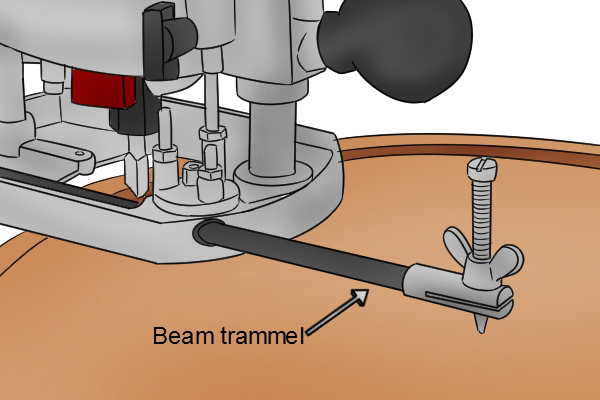 |
Step 2 - Adjust cutter heightSet the height of the cutter for the desired depth of cut with the depth stop. For more information on setting the depth of cut see: Adjusting the cutting depth on a router
Once the router is in the desired position, secure it by turning the clamping knobs clockwise. |
|||
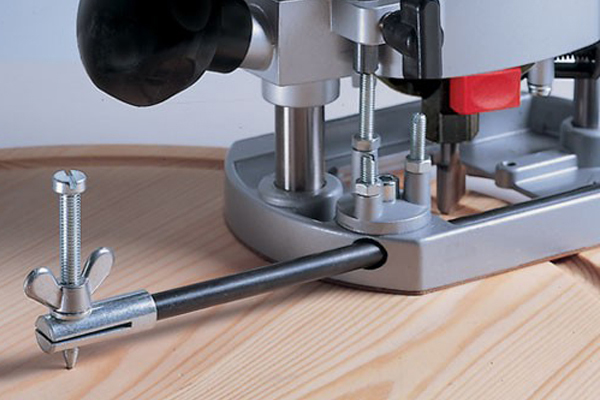 |
Step 3 - Make cutWith the beam trammel and router securely in position, you can begin to make your cut. Turn on your router and use its plunge mechanism to gradually lower the router bit into the material, until the depth stop stops you, and lock the router in position. Slowly pivot your router around the centre of the beam trammel, in an anti-clockwise direction, ensuring the point of the beam trammel does not move. |
|||
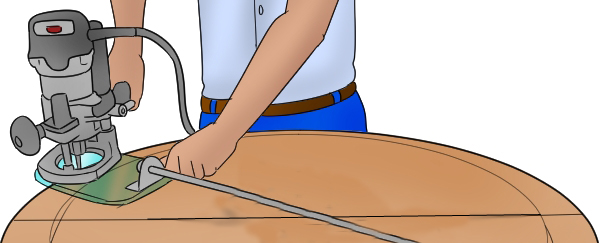 |
Step 4 - FinishOnce you have finished the cut you should release the plunge lock and carefully raise the router. When the cutter is clear you can turn the machine off. |
|||
 |
||||
 |
||||


