How to cut a groove or housingusing a hand-held router and side fence |
||||
 |
||||
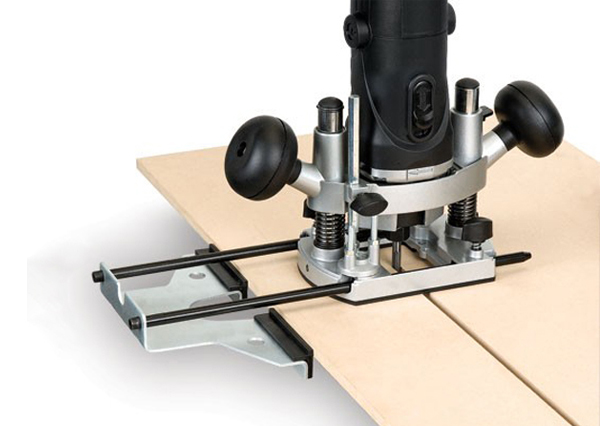 |
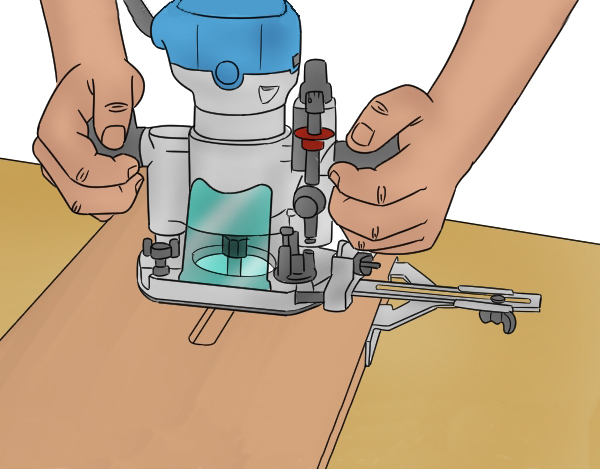
How you use a side fence, or guide fence, to cut a groove may vary depending on the make and model. These instructions are a basic guide to how to cut a through groove, one that goes across the full width of the workpiece.
Stopped grooves, which either stop or start before the edge of a workpiece need to be routed using a router table for extra precision. For more information see: How to cut a stopped groove on the router table. |
|||
Before you begin |
||||
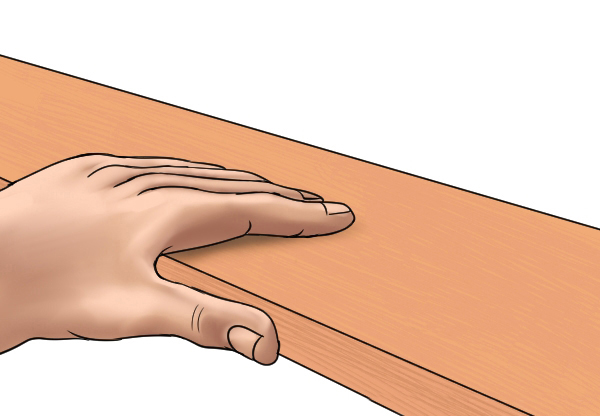 |
Check and secure the workpieceEnsure the edge along which you are going to place the guide fence is straight and free of any bumps or nicks as these could be reflected in the cut you make. When using a guide fence to cut a thin portion of material, you may need to support your workpiece on either side with additional material. This will provide a larger surface area for the router base to move along and help to prevent it tipping. |
|||
|
|
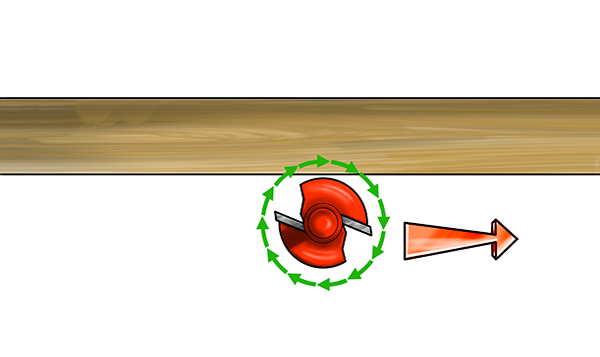
Plan your feed directionIf you’re shaping the edge of a workpiece, you should set up the guide fence so that you can rout from left to right. This means moving the router against the router bit’s natural rotation (clockwise) and will help to pull the fence up against the workpiece, keeping your cut on its course. |
|||
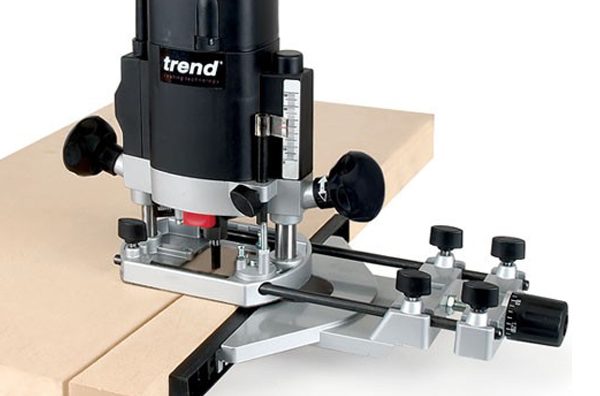 |
If you’re routing through the middle of a workpiece, there is always going to be material on both sides of the router bit, so technically there is no right or wrong feed direction, as the router is always moving with and against its own rotation at the same time. However, it is advised that you still move from left to right, to keep the fence pulled up against the edge of the workpiece. |
|||
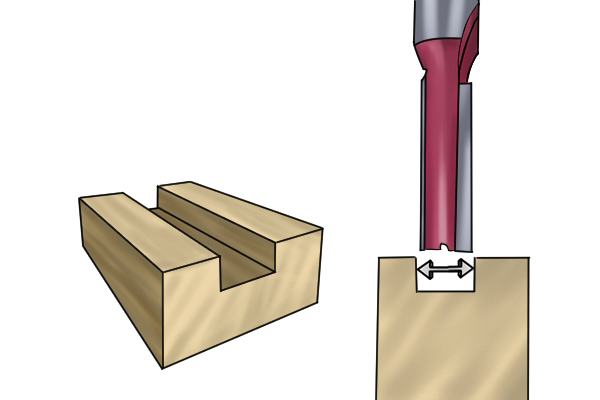 |
Select a router bitThe width of the groove will be determined by the diameter of the cutter on the router bit you use. For instance, to make a 6mm ( ¼") wide groove, you will need a cutter that is 6mm (¼") in diameter. If you need your groove to be wider than the diameter of your bit, you can make more than one pass to complete the cut. |
|||
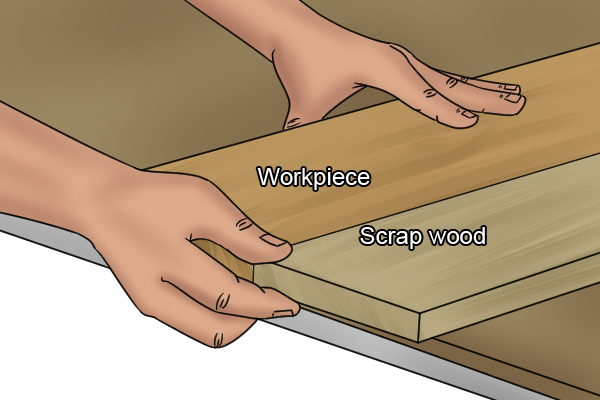 |
Help prevent tear-outWhen the router bit first makes contact with the material, and when it leaves the material at the end, tear-out can occur. To help prevent this, you can attach scrap material at either end of the workpiece, and start and end your cut in the scrap material rather than the finished workpiece. This doesn't apply for plunge-cutting where the cut doesn't reach the end of the material. |
|||
 |
||||
Setting-up the side fence |
||||
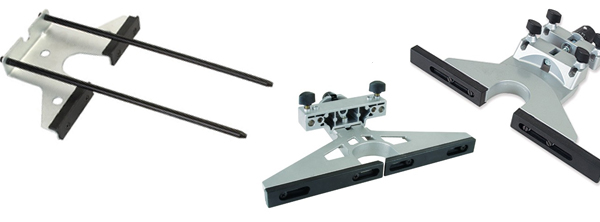 |
The images in this guide show the router cutting in the face of the board. However, a guide fence may be used when shaping the edge of material as well; the general set-up is the same for both applications. |
|||
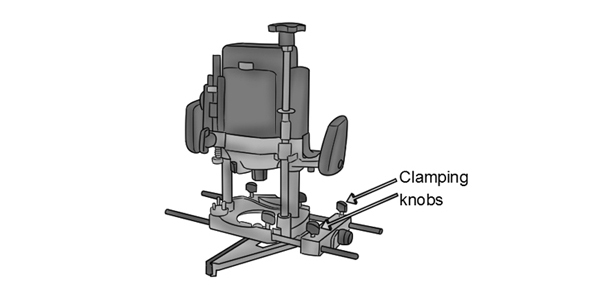 |
Step 1 - Fit guide fence to router baseThread the two guide rods on the fence through the corresponding channels on the base of the router and secure in place by turning the clamping knobs on the router base. |
|||
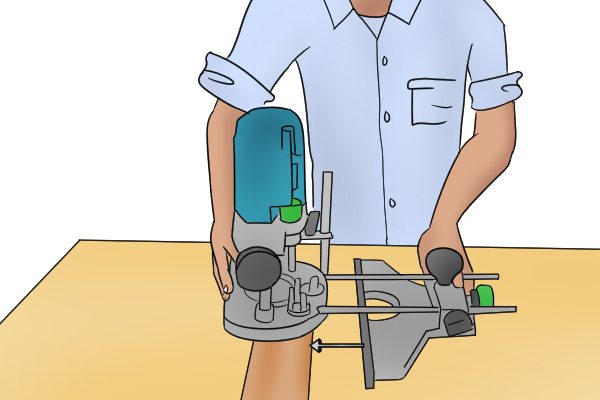 |
Step 2 - Set router positionWhere the router is in relation to the guide fence will determine the position of your cut. To adjust the position of the router using a guide fence, you'll usually use guide rods. You can do this by loosening the clamping knobs on the fence then moving the router along the guide rods to adjust the position of the cut in relation to the edge of the material. |
|||
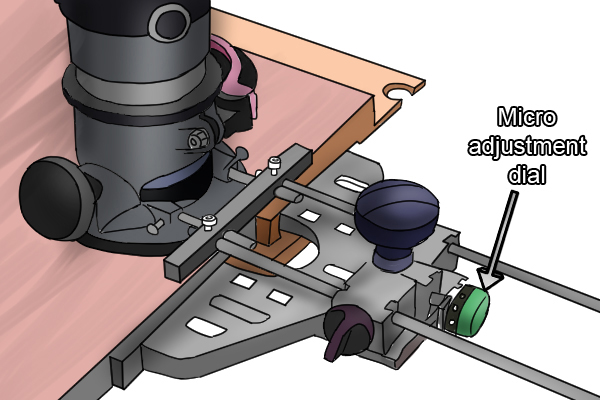 |
Or, by using a micro adjuster. Turn the micro adjuster to finely set the position of the router.
Once you have set the router to the correct position, you must secure the fence to the router base by turning the fence clamping knobs clockwise. This will ensure the position of your cut stays the same all the way along the workpiece. |
|||
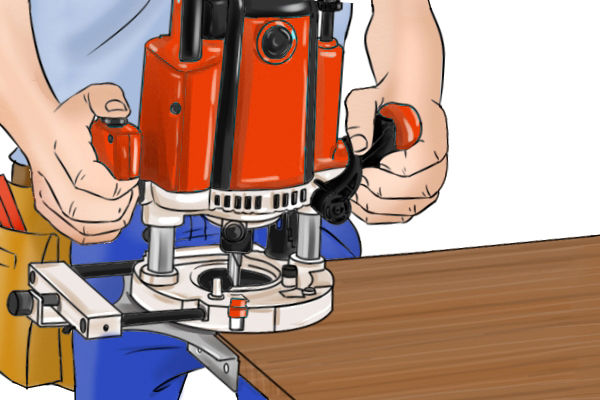 |
Step 3 - Set router bit heightNow the fence is secure, you can set the height of the router bit. How you do this may depend on the make and model of your tool. |
|||
Using the guide fence |
||||
|
|
Step 1 - Make test cutOnce the fence is set up, you should do a test cut in some scrap material to ensure the cut is to your satisfaction.
When starting the cut, increase the pressure slightly on the front of the guide fence and, as you reach the end of the workpiece, increase the pressure on the rear half of the fence. This will help to prevent the router bit from grabbing the edge of the workpiece and pulling the router out of your control. |
|||
 |
||||
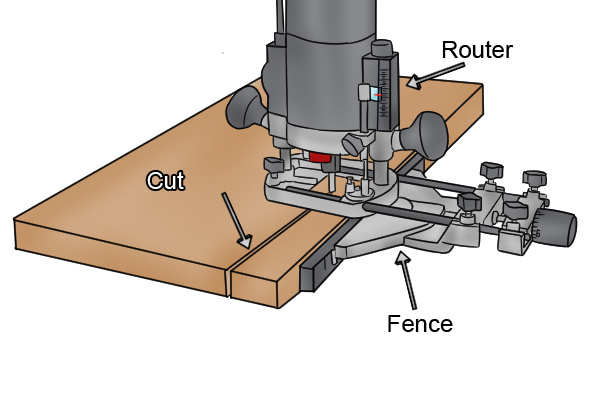 |
Step 2 - Cut grooveIf you are happy with the results of your test cut, you are ready to begin to rout your groove.
If, however, the test groove is not positioned accurately or is not the correct depth, make the relevant adjustments and try again. |
|||
 |
||||


