How to make a finger jointwith a router table |
||||
 |
||||
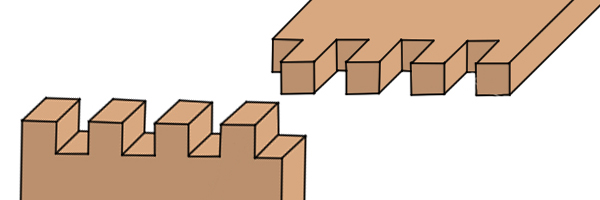 |
A finger joint, also called a box joint or comb joint, is a simpler version of the dovetail joint. It consists of a set of fingers and grooves along the edges of two pieces of wood which interlock and are then glued together. |
|||
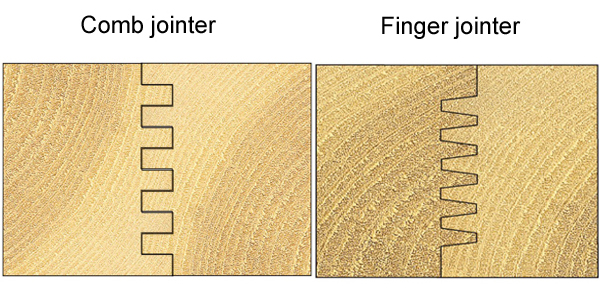 |
The cutters available for making these joints have slightly different designs, so check you select the right one for the application you want to use it for. The Trend range of cutters includes a comb jointer cutter which produces fingers and grooves which are squared, and a range of finger jointer cutters which produce fingers and grooved with slightly tapered edges. |
|||
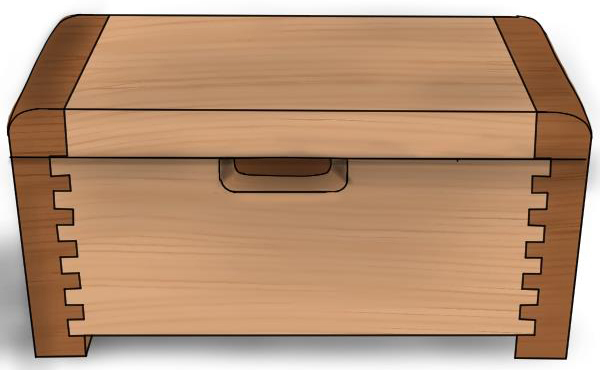 |
You can get dovetail jigs which have optional accessories for creating finger and comb joints, or they can be made using finger jointer or comb jointer cutters and a table-mounted router equipped with a fence. This guide looks at creating these joints with a jointer cutter on the end of two boards. The cutters available for making these joints have slightly different designs, so check you select the right one for the application you want to use it for. |
|||
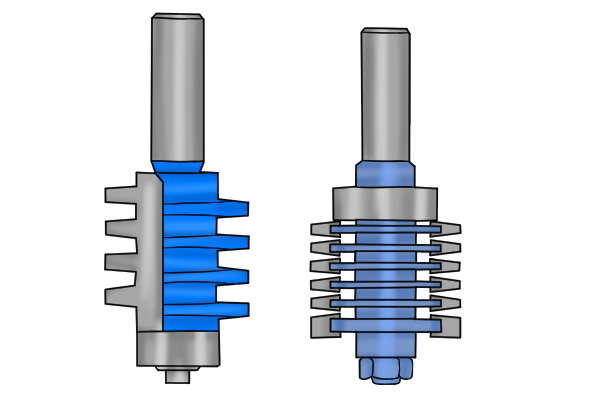 |
Often, jointer cutters have a maximum and minimum thickness of board they can be used with, some are also limited to the width of boards they can work with. Jointer cutters either have fixed parts or adjustable parts. The cutters with adjustable parts can be altered so they can accommodate a range of different board sizes, which makes them slightly more versatile. If you are adjusting the parts of a cutter, ensure the parts are correctly assembled and the locking nut is correctly tightened. |
|||
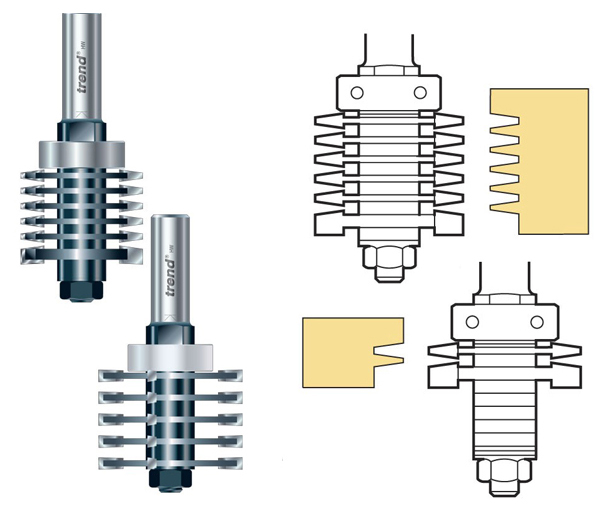 |
How you arrange the parts for an adjustable cutter will depend on the make and model of the cutter, so you should consult any guide that comes with the cutter and alter its size according to the instructions. Changing the number of combs assembled on a comb jointer cutter will alter the width of the board it can be used with it. These cutters cut across the thickness of a board, so they include different bearing sizes which change the depth pf cut. The finger jointer cutter is altered for different board thicknesses by changing the number of combs assembled on it, and it's designed to cut across the width of a board. |
|||
 |
||||
Before you begin |
||||
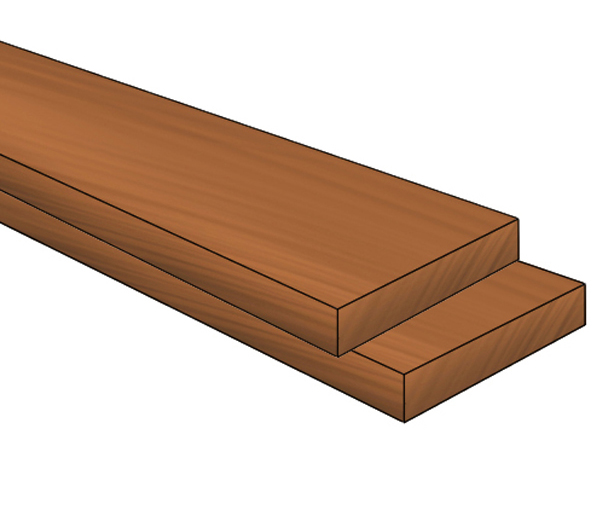 |
Prepare materialBefore cutting your material, both boards should be equal in shape and size, especially on the edges which will be jointed together. If necessary, plane your timber to size. You also need scrap pieces of timber which are the same thickness as the workpiece, so you can make test cuts and adjust the cutter as necessary. A sacrificial piece of timber, usually called a spelch block, is also needed when using the comb jointer to cut across the thickness of a board, to prevent breakout of the grain. Always follow individual cutter's instructions.
For more information see: |
|||
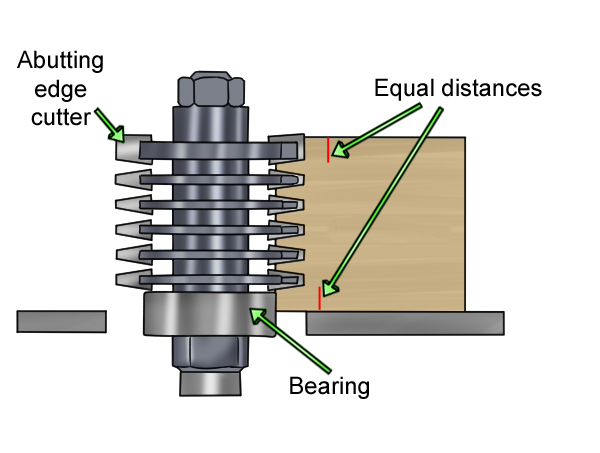 |
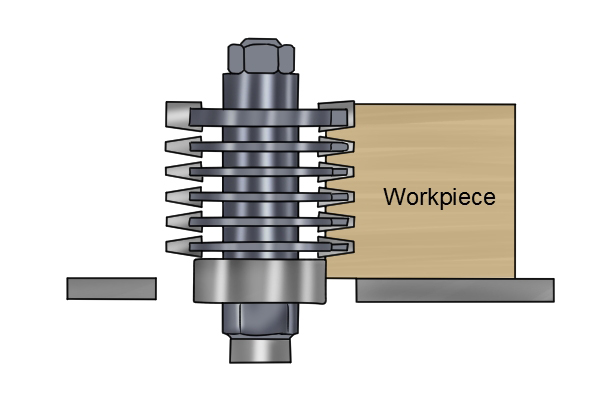
Install and adjust router bitMount your finger joint cutter in the collet of your machine before adjusting its height based on the thickness of the material you will be cutting. Raise and lower the cutter until its top is aligned with the top edge of your workpiece. Adjust the cutters of the router bit so that the distance between the top and bottom of the abutting edge cutter and the space between the bottom cutter and the bearing are equal. This will ensure that the two pieces of the joint will fit together correctly. |
|||
Cutting a finger joint on a router table |
||||
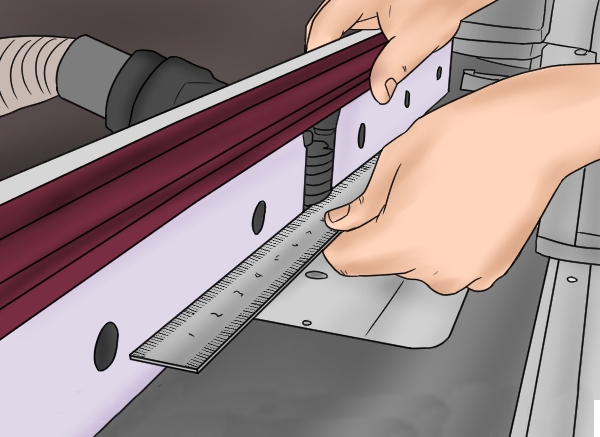 |
Step 1 - Position fence and sliding mitre gaugePosition the router table fence so that the front of the bearing on the bit and the fence face are in line with one another. Use something like a straight edge or ruler to check that they are precisely aligned. This will ensure that the finger profiles that are cut are accurate so that the joint fits together perfectly. Install your mitre fence in the mitre fence slot on your router table and set it square to the back fence, to guide the board. Attach the sacrificial fence as well if needed. |
|||
 |
Step 2 - Make test cutsUse your scrap timber to make a test cut in the first board, invert the second board to make the adjoining cut. If the pieces do not fit together accurately you should adjust the cutter and repeat the test cuts until you have achieved a closely fitting joint. Shims are also included with adjustable cutters so you can make fine adjustments to the combs for especially tight joints. |
|||
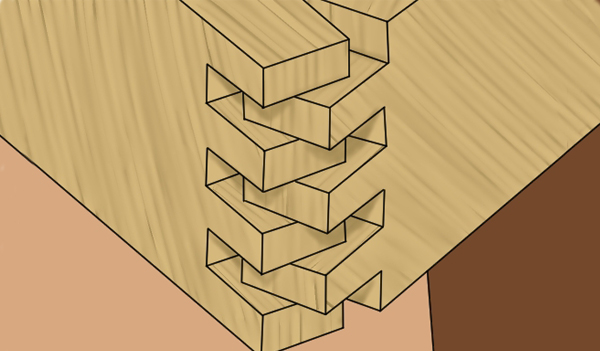 |
Step 3 - Make final cutsOnce you are happy with the set up of the router cutter you can make your final cuts. You should be able to join two pieces with the top and bottom edges flush when the fingers are interlocked. |
|||
 |
||||


