How to round over an edge with a router |
||||
 |
||||
Why round over an edge? |
||||
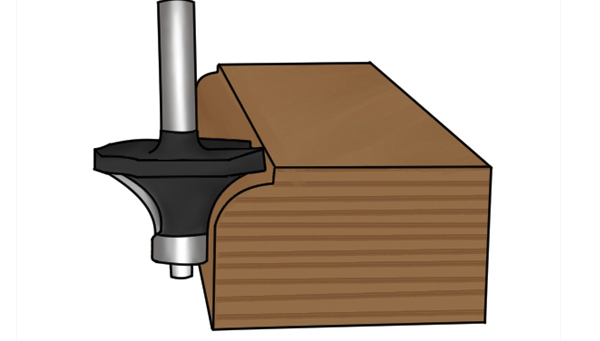 |
Rounding the edge of a piece of material can be beneficial for several reasons. While you could use sandpaper to round over an edge, this would be time-consuming as well as difficult to get a consistent edge all the way around. With a router, and appropriate cutter, you can create an edge with a constant radius in much less time. |
|||
 |
|
|||
 |
|
|||
Before you begin |
||||
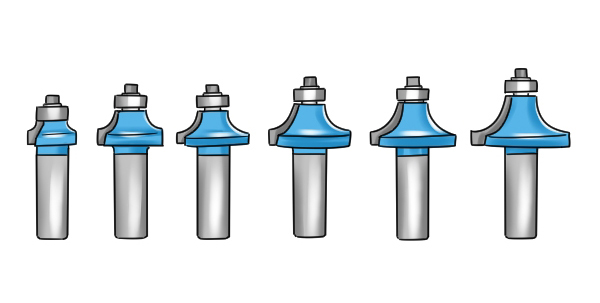 |
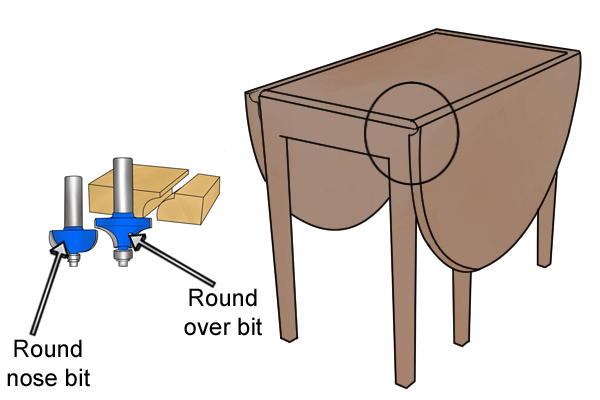
Choose a round over, or ovolo, cutter with a guide bearing which will work for your application. A round over cutter has a flat-bottomed body with curved sides that straighten towards the shank. The radius of your rounded edge will depend on the radius of the cutter. Round over cutters have radiuses of between 6.34mm (¼") and 18.5mm (¾"). |
|||
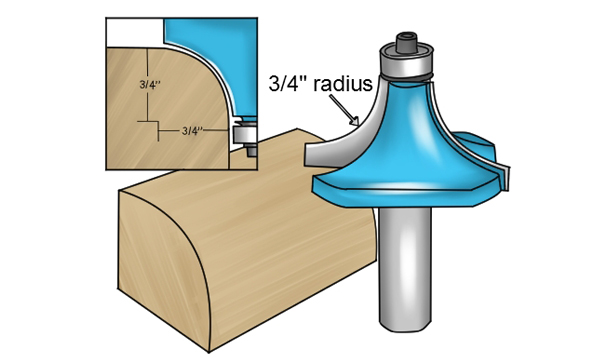 |
The radius you choose will often be down to personal preference. However, you should keep in mind that generally, for more delicate projects, a smaller radius cutter is used to avoid removing too much material. For larger, thicker pieces of material, round over cutters with larger radii are needed to effectively soften the edge. When using particularly large cutters you may need to use the router mounted in a table, so check the specifications. |
|||
 |
||||
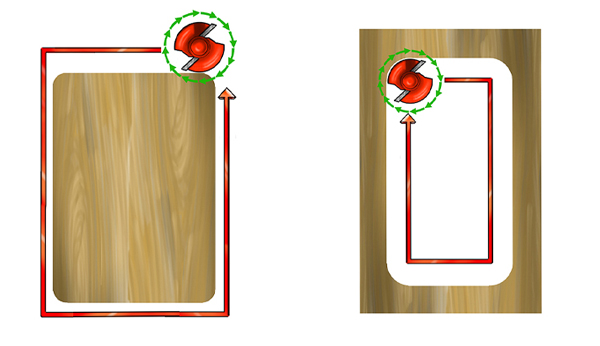 |
Feed directionWhen rounding over the outside of a workpiece, you should move in an anti-clockwise direction. When routing the inside, you should move in a clockwise direction. |
|||
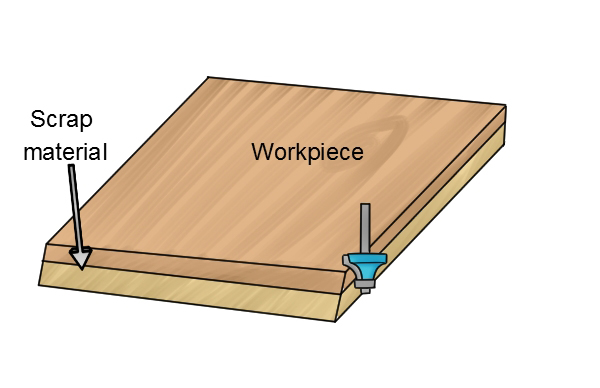 |
Check and support workpieceCheck the edges of the workpiece are smooth and straight. The guide bearing on the cutter will be following this edge and any imperfections will be reflected in the cut. If your workpiece is particularly thin, you can place some scrap material beneath it to give sufficient clearance to the bottom of the cutter. |
|||
Rounding over an edge |
||||
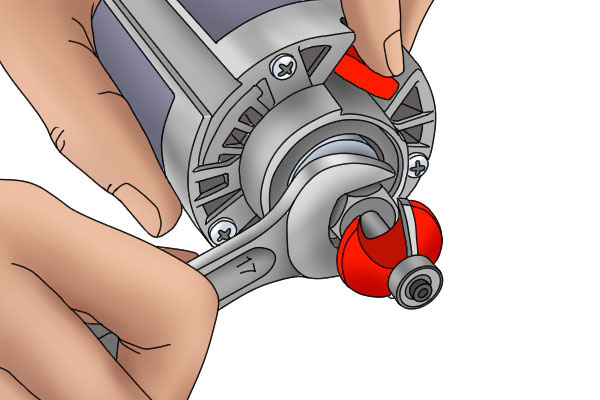 |
Step 1 - Set up the routerInsert the round over cutter of your choice in the router's collet. Position your router on the edge of the workpiece and adjust the height of the cutter to alter the cutting depth. Large cutters will need to be higher than the final cut at first. They need to be set for making progressive cuts which remove a few millimetres of material with each pass until the final depth is achieved. |
|||
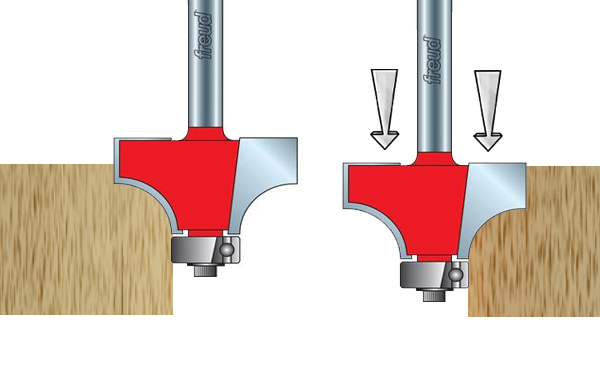 |
If you want to cut a shoulder in the top of your rounded edge, you should lower the bit until the straight edge at the top protrudes from the base. How much of the straight edge you use will depend on how large you want the shoulder to be. If you simply want to round the edge, expose only the curved section of the router bit. | |||
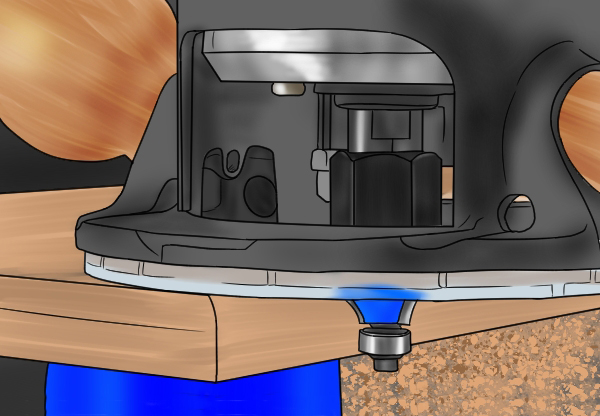 |
Step 2 - Begin routingWith your cutting depth set, switch the router on, plunge the router until the depth stop stops it and lock it in this position. Move the router so that the router cutter's guide bearing is touching the edge of your workpiece. Then, move the router around the workpiece, keeping the guide bearing in contact with the edge. Repeat the passes, resetting the cutter lower each time, until you have the size of rounded edge you want. |
|||
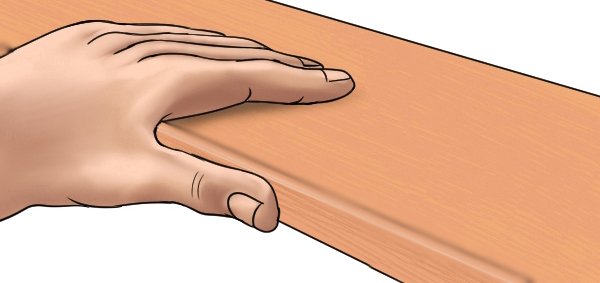 |
Step 3 - FinishWhen you've rounded the desired edges, switch the router off and set aside. Now inspect your workpiece to check for any areas that may need going over again. |
|||
 |
||||


