How to use a guided router cutter |
||||
 |
||||
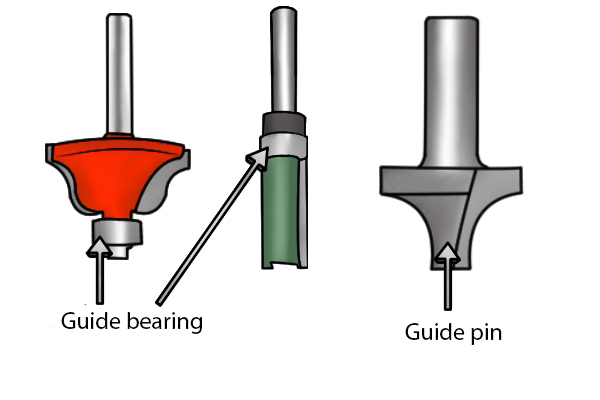 |
A pilot router cutter is a bit with a guide pin or bearing located either above or below the body. They're usually known as guided router cutters. |
|||
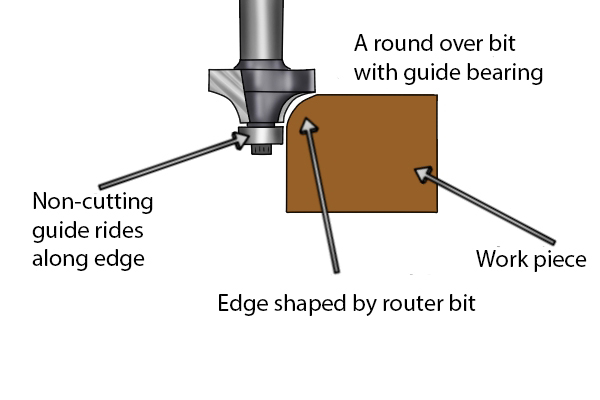 |
The guide works by riding along the edge of your material, keeping the cutting edges at a consistent depth throughout the cut. |
|||
Check your edge |
||||
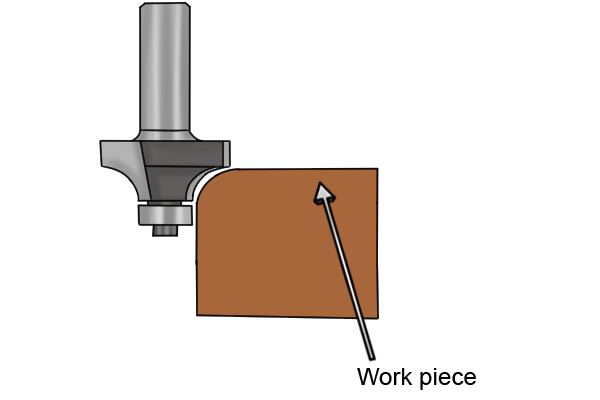 |
The guide can either rest against the edge of your workpiece, or against a template attached to your workpiece.
Before you begin, check the edge on which the guide is going to ride. Make sure it is smooth and free of any chips or dents, as these will be transferred to your workpiece as the guide moves over them. |
|||
Back it up |
||||
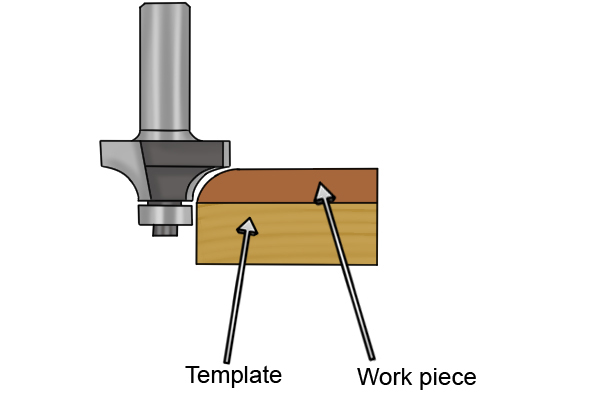 |
If the edge of your workpiece is not thick enough for the guide to move along, you can secure a second piece of material below it.
You can check by manually moving the router bit along the workpiece by hand. |
|||
Look for a smooth spin |
||||
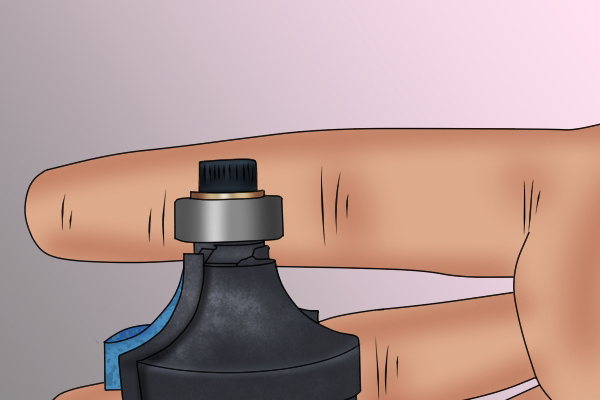 |
You should also ensure, if you're using a guide bearing instead of a guide pin, that it can spin smoothly on its axis (guide pins don't rotate).
If the bearing is stiff or clogged, it can cause problems once you begin cutting. |
|||
Don't press too hard |
||||
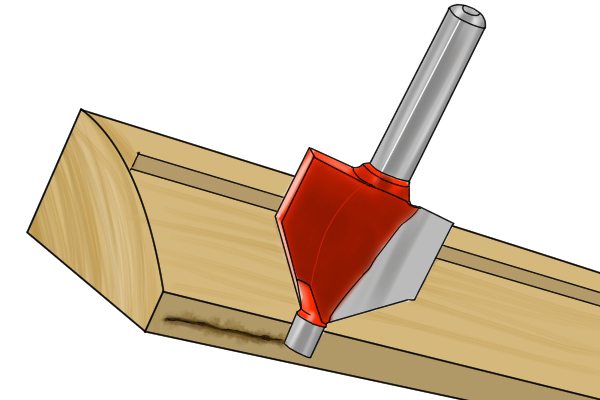 |
When using a pilot bit, especially those with a guide pin, try not to press the guide too hard against the side of your material as this could prevent it from moving along freely, and may even mark your material.
Getting a feel for the right speed and amount of pressure takes time and practice.
If you're not an experienced user, practise on some scrap material first. |
|||
 |
||||


