Using a plugmaker router cutter |
||||
 |
||||
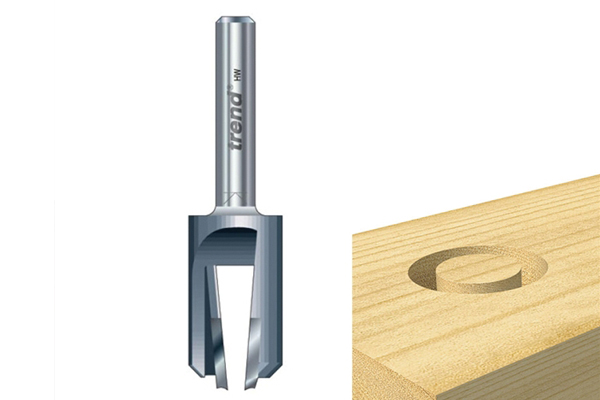 |
A plug-maker router cutter is used for cutting the wooden plugs used to cover up screw heads. It should only be used in a hand-held plunge router. |
|||
Why would you use a plug-maker cutter? |
||||
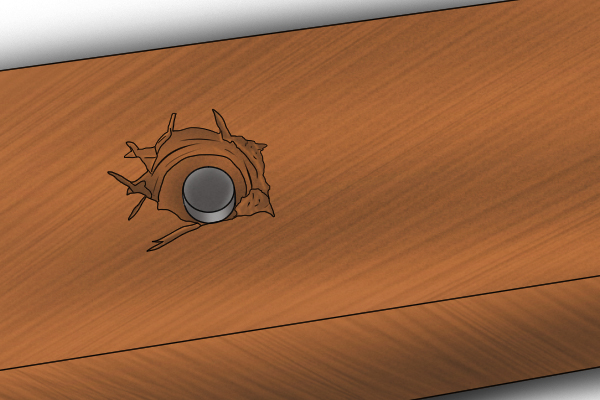 |
Screws are a popular choice for fastening materials, but, when on show, they can make your finished piece look unattractive. Some users countersink their screws and fill in the countersink hole with a plug, usually made from a piece of scrap material left over from their project. Countersink and counterbore bits are also available. Trend's Professional TCT range includes countersink and counterbore router drills, and some drill counterbores. In the HSS range, you will find two 3 flute countersink cutters, designed for use in the window fitting industry. |
|||
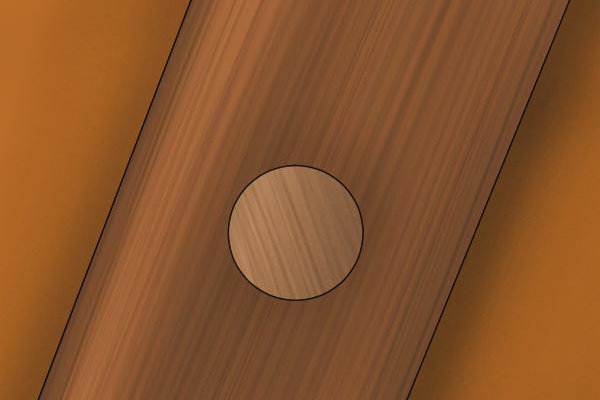 |
Countersinking screws into a deeper hole means that, when in place, a plug of the correct size blends in with the surrounding material and covers the screw. Plugmaker bits rout perfect plugs of specific sizes. |
|||
How to use a plug-maker router cutter |
||||
 |
||||
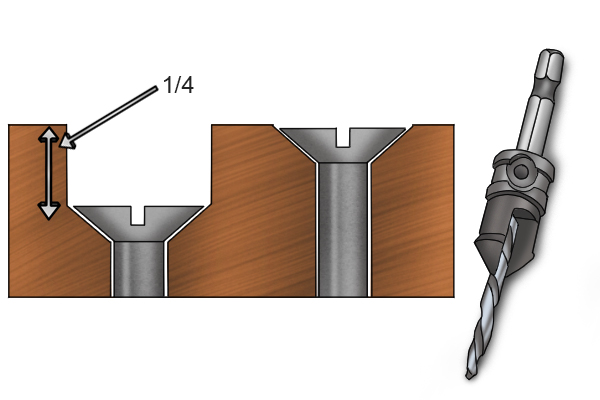 |
Step 1 - Drill a countersink holeDrill a countersink hole that is slightly larger than your screw head. This can be done with a countersink router bit.
Where possible, sink your screws about ¼” (6mm approx) beneath the surface of your material. This allows enough room for the plug to sit securely. |
|||
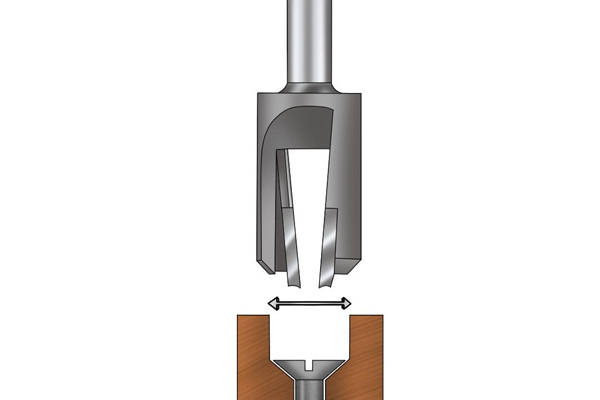 |
Step 2 - Select a plug-maker bitYou should then select a plug-maker cutter that has a cutting diameter equal to the diameter of your countersink hole. |
|||
 |
Step 3 - Insert the plug-maker bitInsert the plug make cutter into the collet of your plunge router, and cut your hole.
It is advised that you cut your plug from a scrap piece of the same material as your final piece. This allows the plug to blend into the surrounding material. |
|||
 |
||||
Removing the newly cut plug |
||||
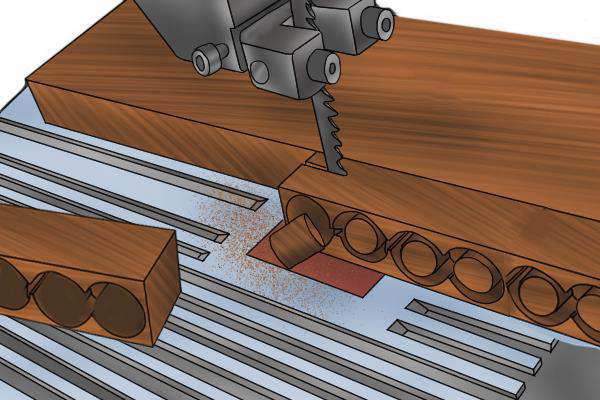 |
Once your plug has been cut, you have several options as to how to remove it and when your plug is free, you can apply a light coating of wood glue and place it in your countersink hole.
1. You can use a power saw to cut along the bottom of the material, below the plugs. This will sever the base of the plug from the material. |
|||
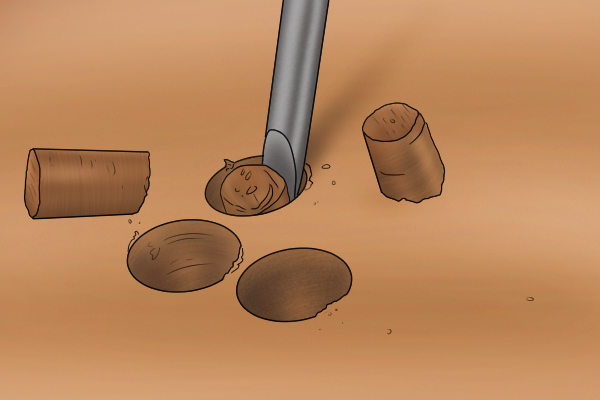 |
2. If it is a relatively thin plug, you can use a flat blade screwdriver or chisel to break the plug free from the material. This involves wedging the tool into the gap surrounding the plug, and digging it into the base of the plug, and then pushing downwards. This should break the plug away from the material, but can leave splintering and an uneven finish at the bottom. |
|||
Tapered vs. regular plugs |
||||
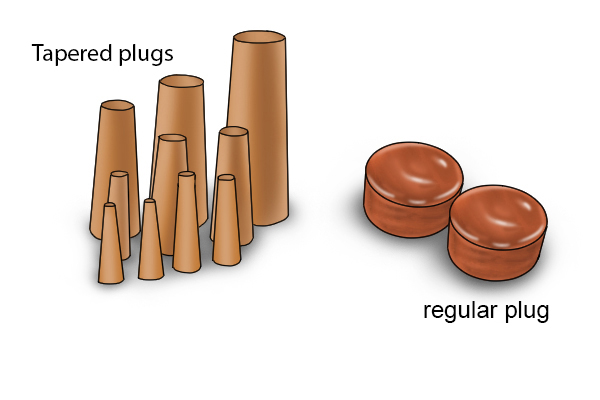 |
If your plug-maker bit cuts tapered plugs, whihc are the most common type, you may not need to apply any glue at all. Trend plugmaker router cutters produce tapered plugs.
Tapered bits are often a preferred choice, as they produce a plug that has one end slightly wider than the diameter of the countersink hole. |
|||
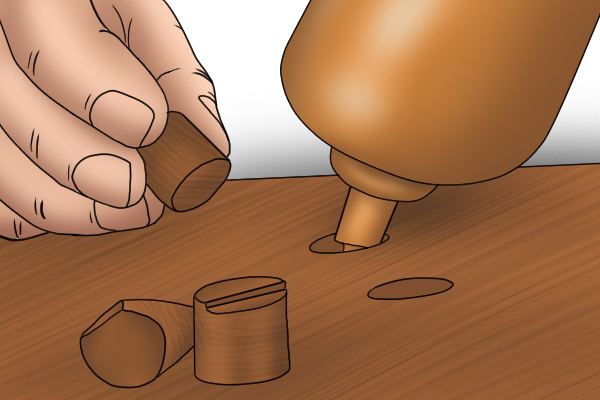 |
With these plugs, you can apply a light coating of glue on the thinner end of the plug, and then insert it as far into the hole as you can using your hand. You can then tap it the rest of the way in using a small mallet. Be careful not to damage the plug, or your surrounding material.
The plug should sit tightly in the hole, and lie flush with the surface of your material. |
|||
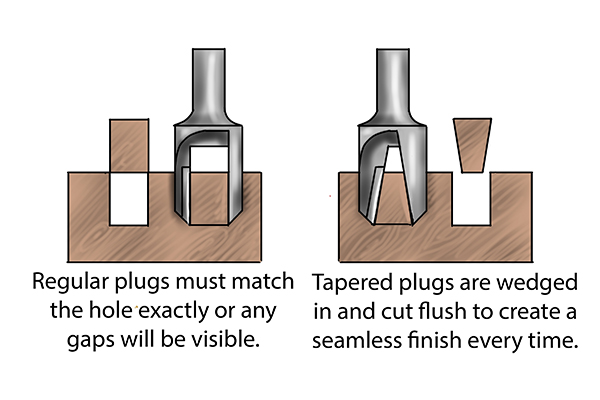 |
Please note: You will be able to tell if your cutter creates tapered plugs by looking at the cutting edges side-on.
|
|||


